The bookcase is done except for final clean up and a coat of paint. This is going into my daughter’s room, which needs some color – thinking light blue. This was done entirely, step for step, off of Paul Seller’s design from his Working Wood: The Artisan Course book/DVD. As such, I’m not going to get into details of how it was done.


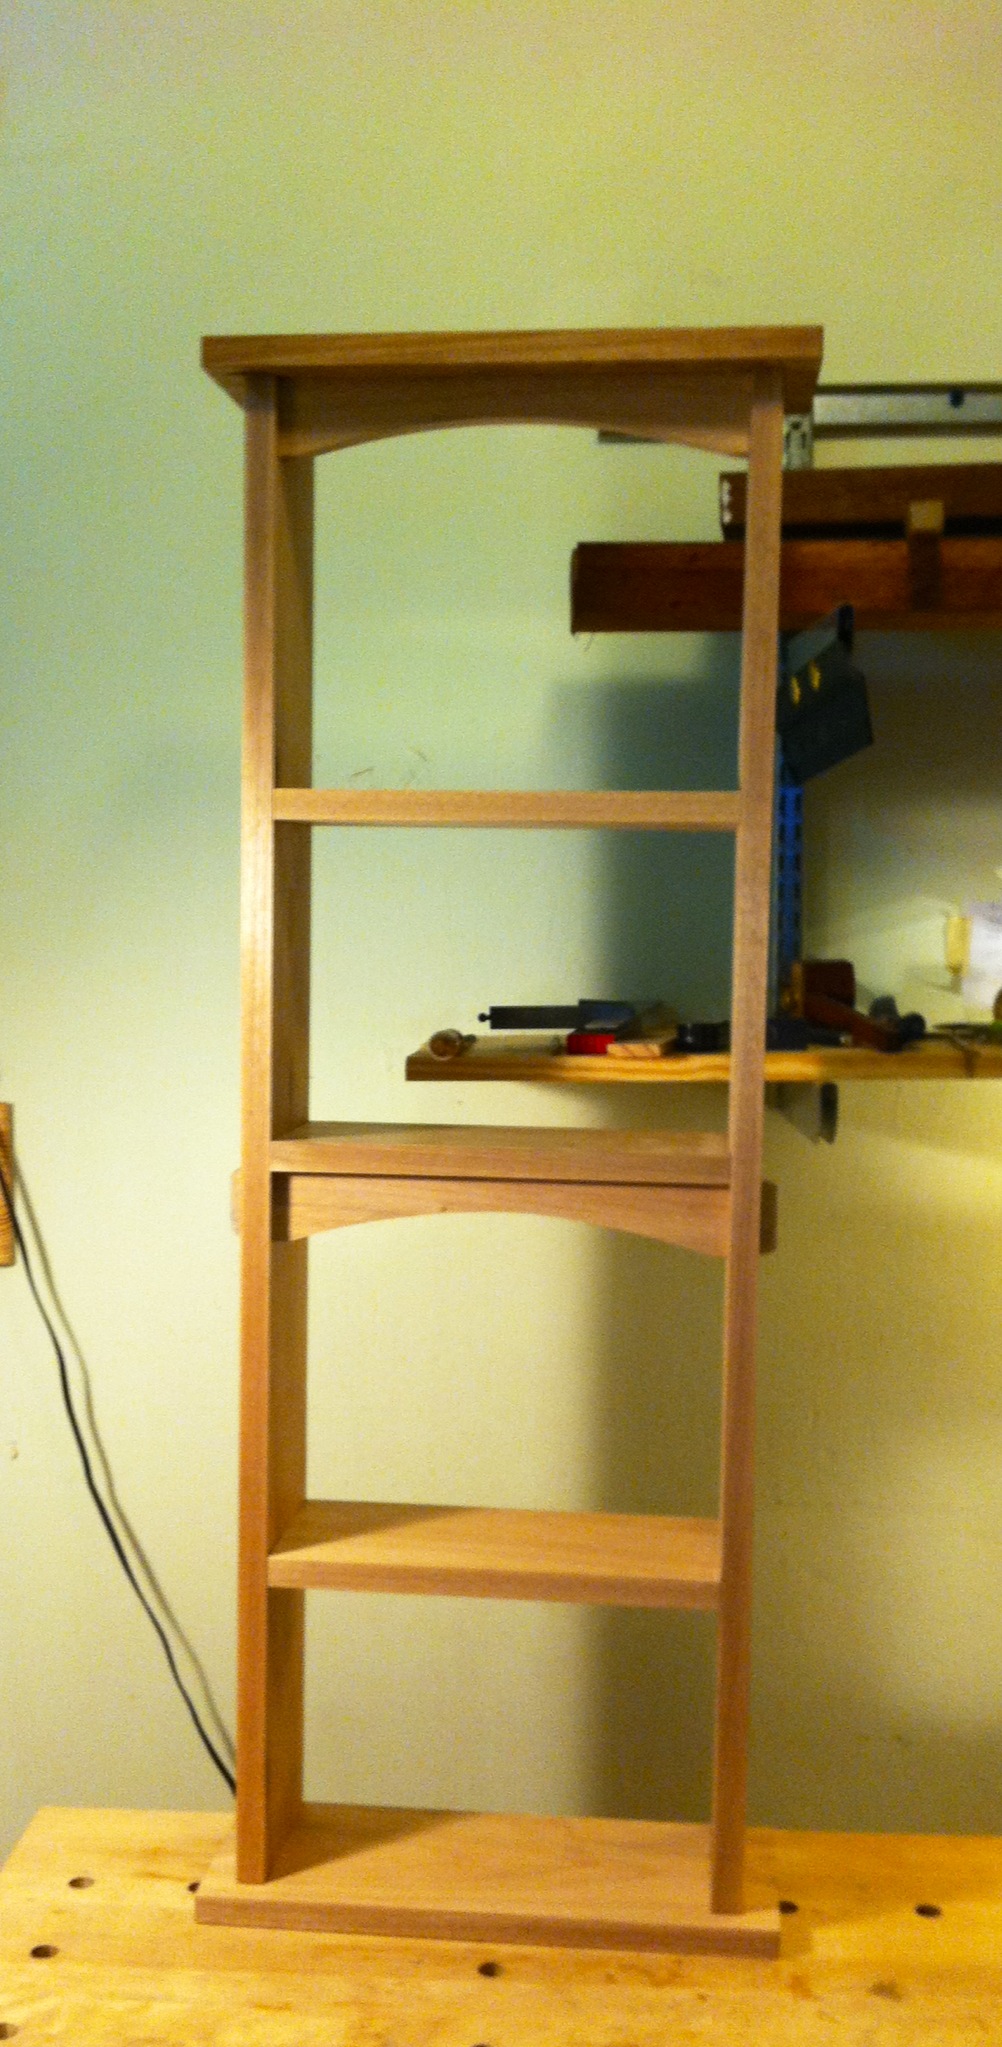
Hotwash-light on the bookcase:
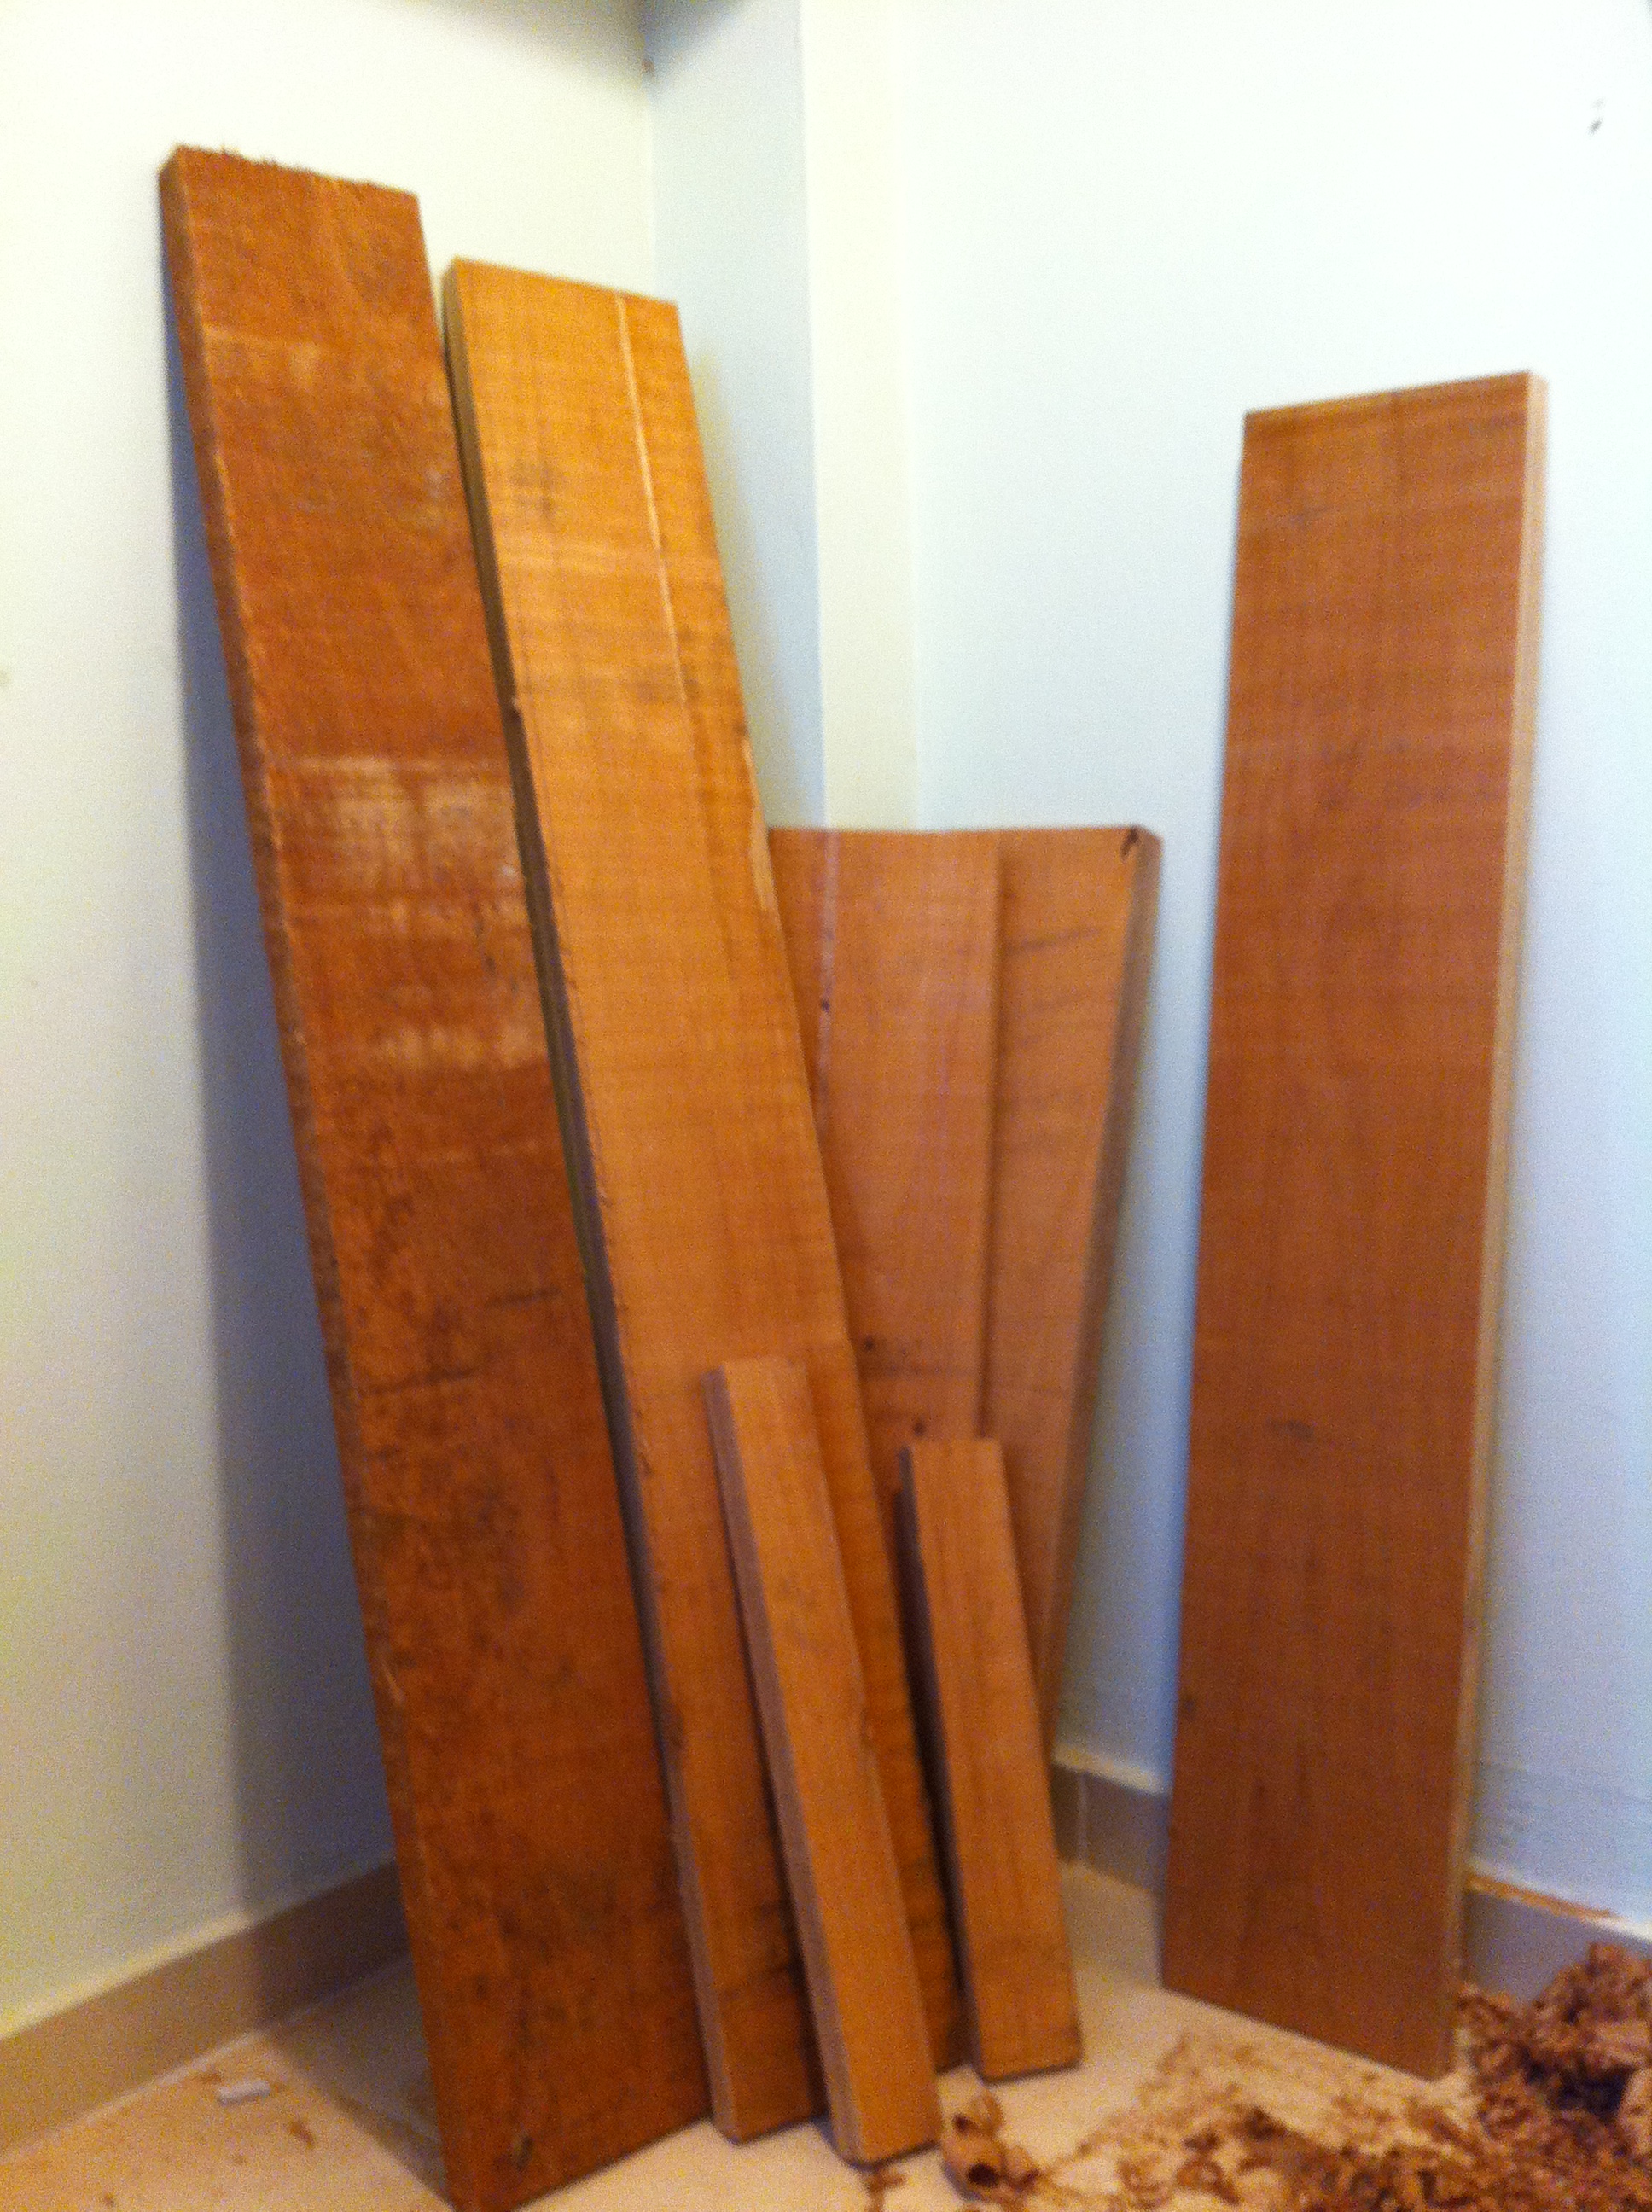
- Need to improve QC throughout. Too many dings, dents and scratches on boards. Doesn’t help that the jequitiba I used has a fair amount of reversing grain and water/sweat spots oxidise. All avoidable with a modicum of care.
- I might try purposely undersizing the dadoes and then shaving edges to get a fit to eliminate some of the trial and error.
- Leave well enough alone. I find myself cleaning up edges and faces after I’ve prepped the stock, which gets things out of square, out of parallel and matching size.
- Make every cut with the same level of attention. Mid-project blahs made me speed through some important cuts resulting in gaps. Should’ve backed off, warmed up and gone at them slowly and carefully.
- Otherwise I was happy with the results. First 10 dadoes I’ve cut, first mortises and tenons. Not perfect, but considerable learning experience. Paul Seller’s book/DVD combo is great for someone new to hand tools like me. A thorough level of detailed instruction that I feel makes it possible to go out and replicate the techniques.

I’ve got a very similar list of things to watch for on my projects.
I’ve read about keeping moving blankets in the shop to cover pieces up when you’re not working on them. I haven’t done this yet, but I do take more care to set pieces well aside when I’m not working on them. It’s amazing how dirty and dinged up things can get on the workbench.
On dados I’ve found that taking a lot of extra time on where the dado exits the board make mine look a lot better. It’s real easy for these parts to get blown out, so I try to always cut into the edges and never out.
As for me, mostly I’ve got to focus on keeping my cuts straight and joints square.
LikeLike
moving blankets make sense. I’m not so worried about the dirt, that comes off in the final clean up. What got me this time was chips popping up under the sole of the router plane and scratching the hell out of the wood. Ah well, you live, you learn.
LikeLiked by 1 person
The shelves look great. Nice job!
I have an old bath towel that comes out once things start getting assembled. Up to that point I try to handle every piece like its an egg. You’ll be surprised how quickly you develop habits that prevent dents and dings. Watch Paul’s videos and pay attention to some of the things he does. Lifting pieces high out of the vise or deliberately swinging pieces well away from the bench.
Sometimes I’ll make my first cut well into the waste area of a joint. Maybe two or three. Once I feel comfortable I saw on the line.
I had the same issue with chips when I first started using the router plane. The best advice I have is to slow down and make shallower passes. A deep cut tends to pop the sole of the plane up off the wood when it “sticks”. When the plane pops up the chips get under the sole. For the most part I try to remove as much waste with the chisel as I can and use the router plane for final cleanup only.
When using Paul’s method for marking out dados, when you mark the second wall of your dado try for getting the knife under the board by the thickness of the knife. If you mark the exact edge of the board you will get a gap the thickness of your knife. Another lesson I learned the hard way.
Greg
LikeLike
Thanks, and that’s good advice. I was thinking that I likely needed to do as much as possible clearing the dadoes with the chisel first. Good to know I was on the right track. As for getting a good fit, that’s just going to be practice.
LikeLike